Project Summary

This is Phase One of a project to create a tutorial series that combines 'how to create a task list' with 'how to use tools and menus in Google Sheets'. Phase One is creating the overview video for the tutorial series. The overview video introduces the concept for the project and provides a high-level summary of how it works.
I have two goals with this project. The first is to give people a general idea of the menus and tools in Google Sheets. The second is to allow people who want a free scheduling program to construct one of their own, which will also allow them to incorporate features they may find useful but are not traditionally included in scheduling or to-do apps.
The series will ultimately have nine videos, including the overview video. Each video will be accompanied by a Google Sheets document that matches the state of progress at the beginning of the video. For example, the overview video is accompanied by a document that contains templates for all of the videos. Meanwhile, the "Listing Tasks" video will be accompanied by a Google Sheets document that contains the headers and visual separations between them, but not the tasks themselves.
Behind the Scenes
This project is aimed to help people are detail-oriented but have only a passing familiarity with digital programs like Google Sheets. My hope is that the project will help them to become more familiar with Google Sheets, and learn another way that they can keep track of tasks.
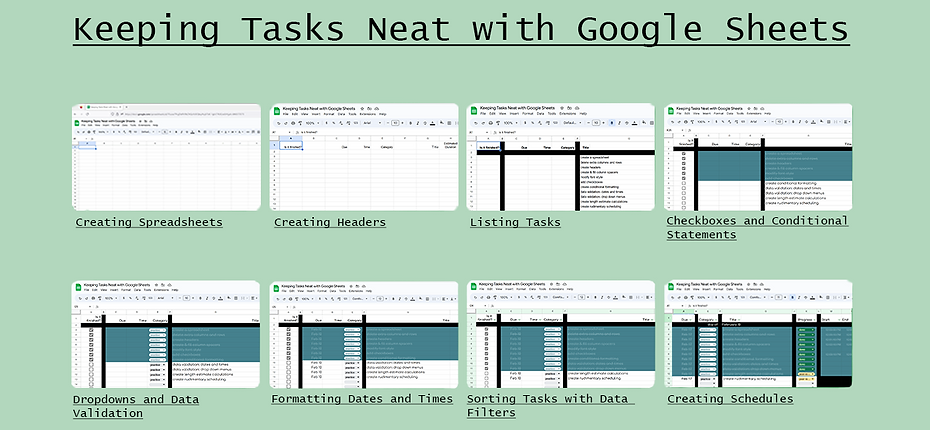
I based the project on the system I used in college to keep track of my school assignments. That meant I needed to figure out how to best describe what I had done over time to create that system. So I began by breaking it down into sections, which eventually turned into this:

As I worked on this project, I got feedback from several people in my target audience, prompting me to add new elements to my video, such as the red boxes that highlight where people should focus in the scene.

I also wanted to include a personal touch, so that the video was more than just a screen-recording of Google Sheets. After some consideration, I decided to include hand-drawn representations of myself at the beginning and end of the video. This was one of the places where feedback was invaluable, because I was a bit too optimistic about how my first draft turned out.


After getting feedback suggesting that I keep working on the drawings, I used my first drafts as a base, but changed my approach. This time, I used brushes with harder edges, and put more time into the hands.
Since I created the artwork in Photoshop, I was also able to take advantage of Photoshop's layers. I put the right eye on one layer, and the left eye on another, which allowed me to could adjust where the avatar was looking.
In the end, I was much happier with the result than I would have been if I'd stuck with the first draft.
![In the upper half of the video, text reads "Video 1: Creating Spreadsheets." At the bottom, a caption reads "[Silence]"](https://static.wixstatic.com/media/0a6fa7_cc509fa27c4a4400b7b48879ab598ccf~mv2.png/v1/fill/w_599,h_337,al_c,q_85,usm_0.66_1.00_0.01,enc_avif,quality_auto/title-screen-example.png)
The overview video has a lot of different sections, since it includes information on every video planned for the tutorial series. But when I started out, I didn't know what I was going to do for the transitions. In fact, an early version of the video didn't even have transitions -- it just went straight from one section to the next, which made it hard for the viewer to keep track of what was happening.
After some thought, I decided to use title screens, with a bit of animation to keep the screens from being too static. I like this choice, although I'm going to extend the time the title screens stay on-screen in future videos to make sure viewers have enough time to read them.


From the beginning of the project, I knew I would need to set aside time to create subtitles for the video. This was made simpler by the fact that I scripted the video before recording it, which meant that I could copy the script almost verbatim when it came time to make the subtitles. However, I wasn't sure what program I wanted to use for this. I knew it was possible to create subtitles on YouTube, and I thought I had seen an option for creating captions in Adobe Premiere.
Because I was more familiar with Adobe Premiere than with the Creator Suite of YouTube, I ended up using the caption option in Adobe Premiere. The benefit to this is that it was easy to get the exact timing for the captions, since I could see the audio track. The downside is that the subtitles are built into the video, rather than being something users can turn on and off. Going forward, I will have more freedom in how I choose to caption my videos, as I now know both how to access the YouTube subtitle system and how to get the specific timing for where each subtitle should start and end.


